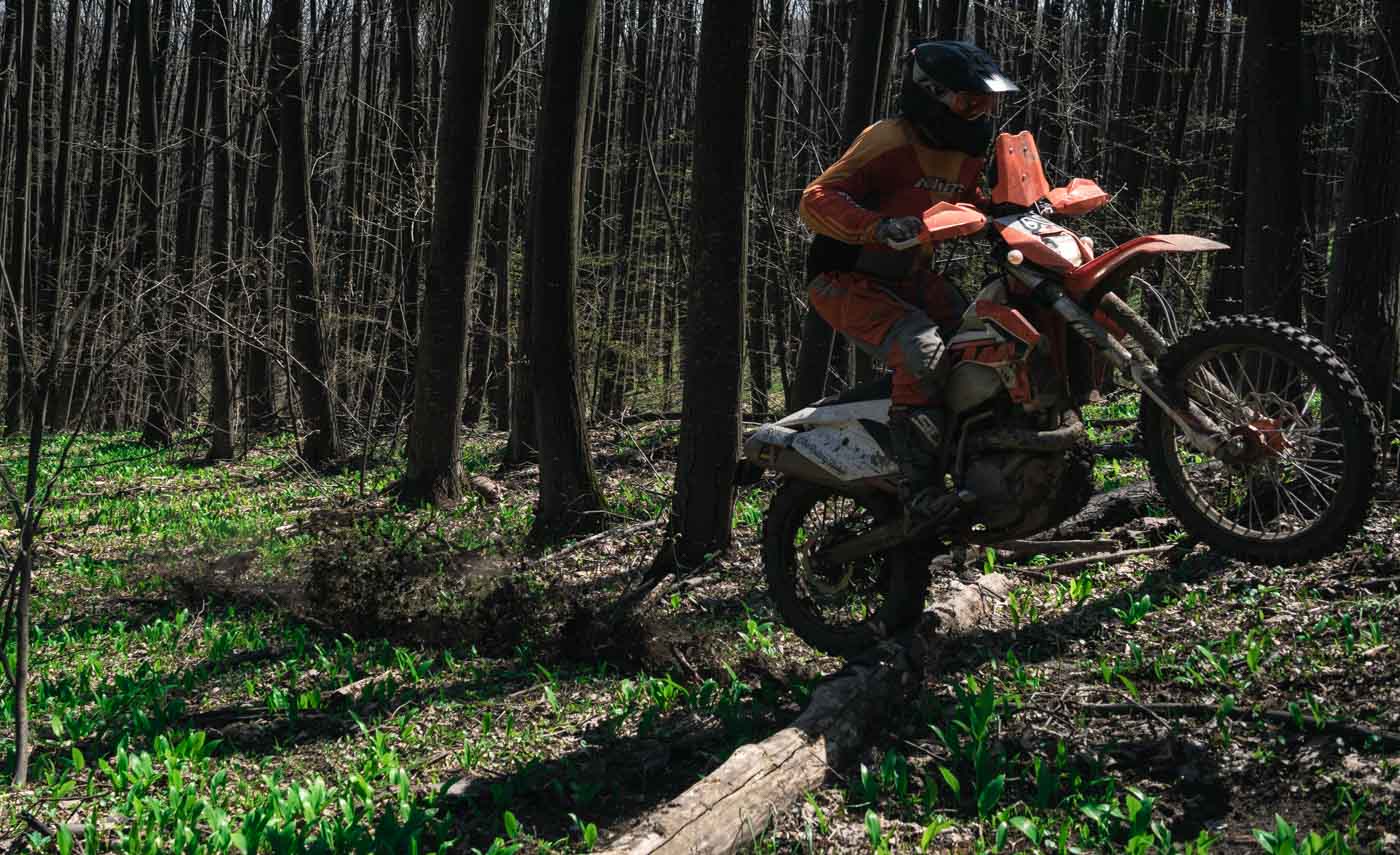
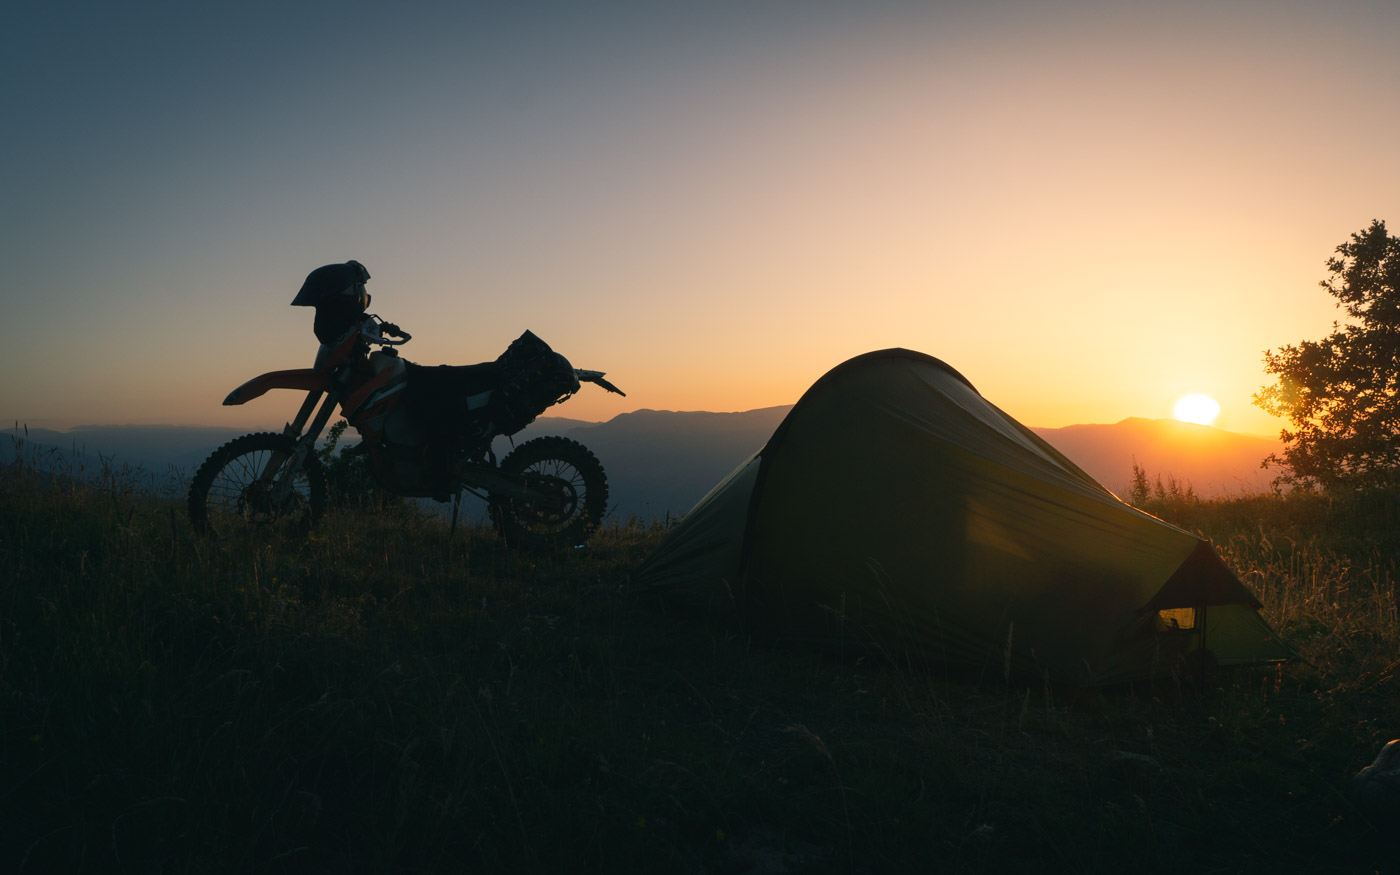
I’ve never had a fairing on any of my bikes, and have ridden over 70k of of expeditions with my 690 and 500 EXC in enduro trim. To be honest, I love a clean cockpit and the unobstructed view of the landscape ahead. I’ve never regretted not having a fairing except perhaps half-heartedly on long tarmac transit sections. But after agreeing to give Adventure Spec’s new Universal Mini Fairing a test run, reconsidering my views on the matter might be in order.
I never use a fairing
My first bikes were naked street bikes, and the progression to enduro with a YZ250F did obviously not kick off riding with a fairing. Discovering adventure riding, and buying the 690, had me looking into small screens, or rather the Britannia Composites Lynx navigation fairing, but for what reason, I do not know. Perhaps I thought they made bikes look cool and everyone else had them, so in my inexperience, I probably caved under the peer pressure, instead critically assessing the pros and cons of fairings. Nevertheless, in the end, I kept the 690 fully naked, and by the time I bought the 500 EXC I didn’t even consider fitting a screen or fairing. Now, after around 70k on the two bikes, things have changed with the introduction of the Adventure Spec Universal Mini Fairing, which has a bit of a different concept compared to others.

Handlebar mounted minimalism
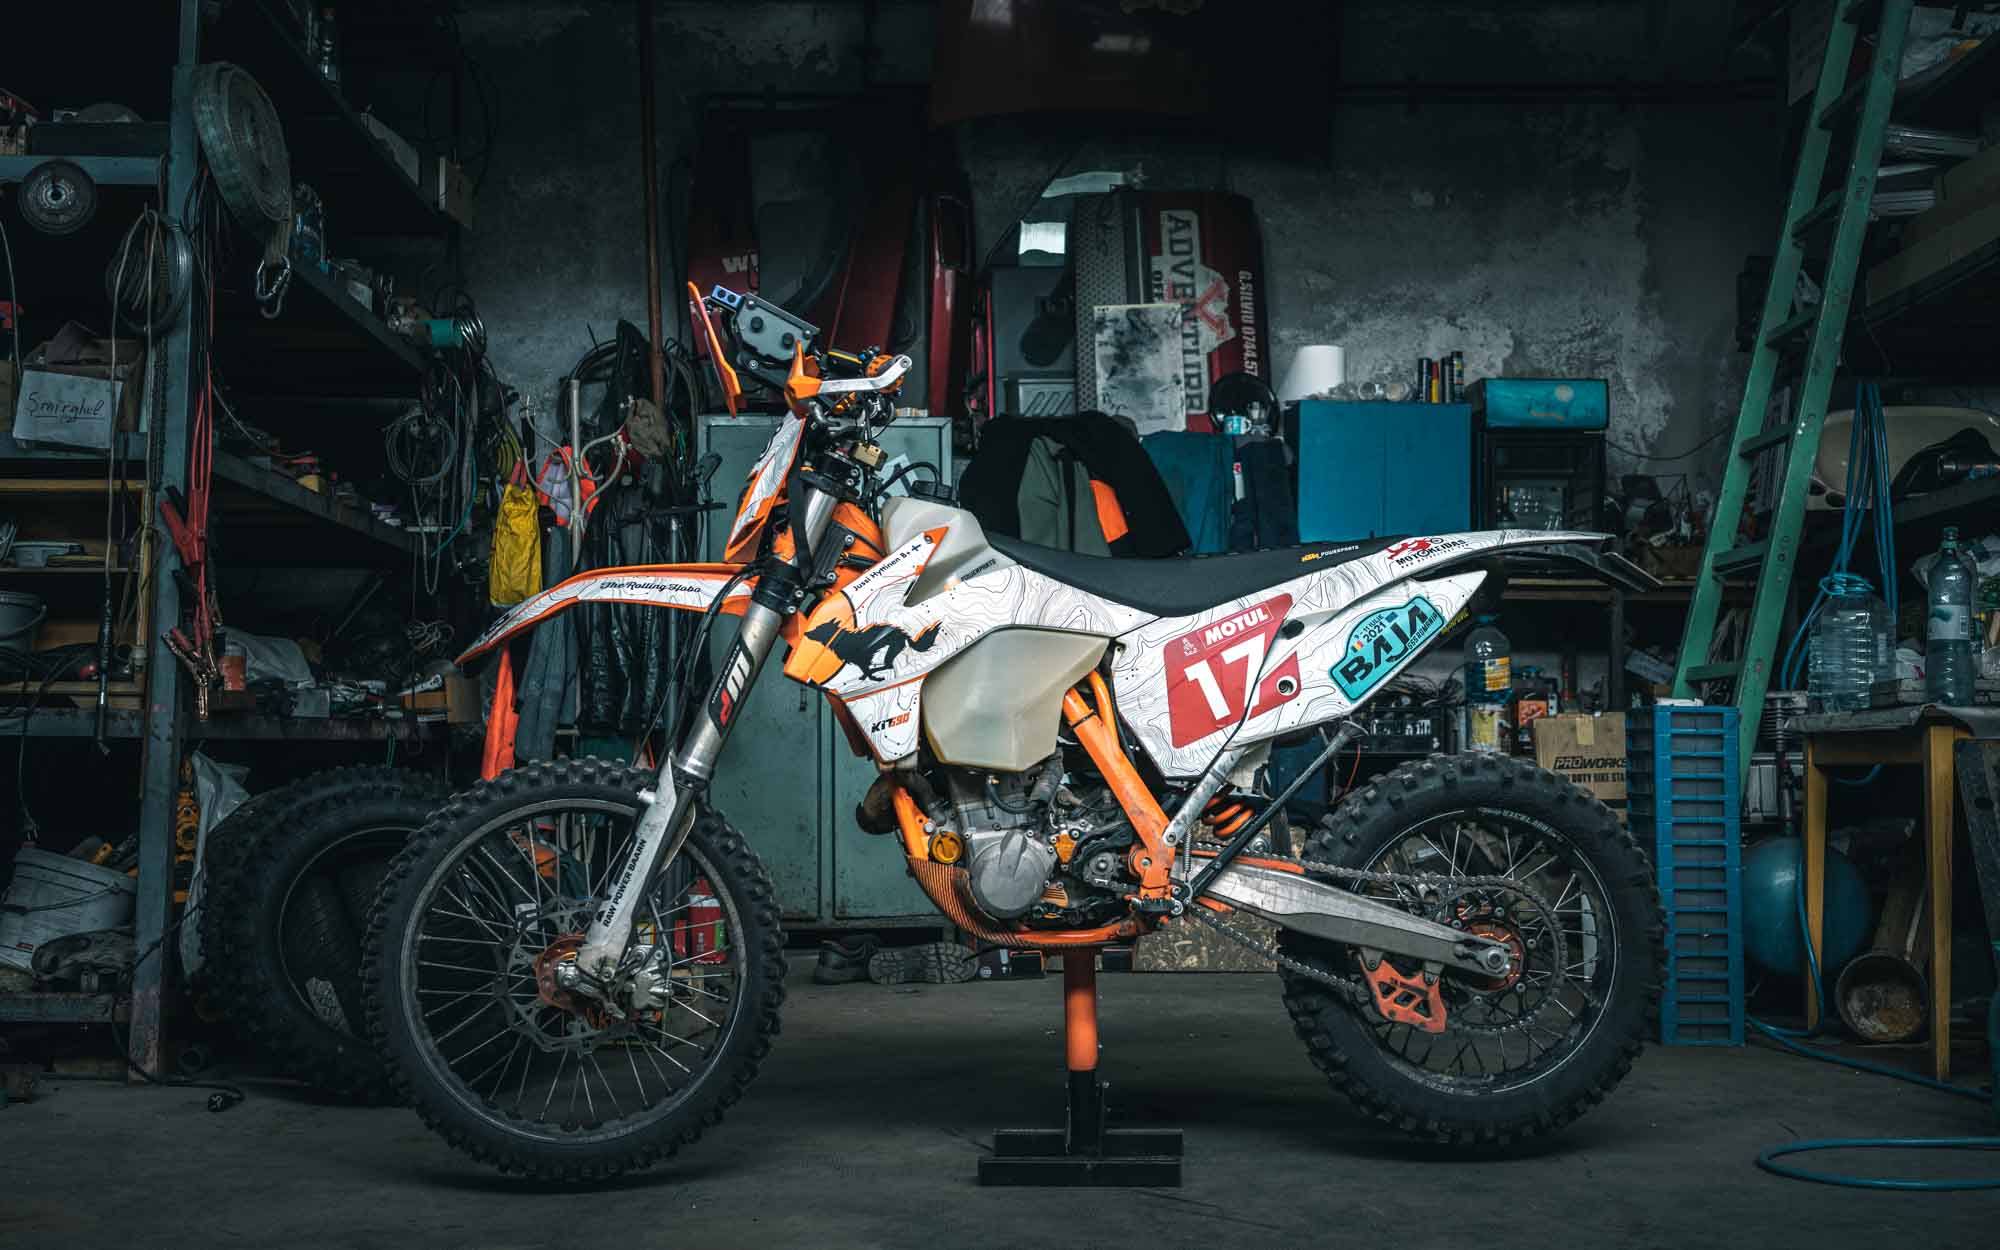
The AS fairing kit is essentially a set of plastic clamps on the handlebar, with mounting hardware for a navigation plate and a shield, which is available in no less than five different colours. I like the fact that the fairing kit, along with attached navigation equipment, is mounted directly on the handlebar and moves with it. I find the traditional static rally navigation tower disconcerting to pilot and much heavier than a handlebar configuration. The Universal Mini Fairing kit has a small profile and is light for what it offers. It seems like perhaps the most minimalistic and light fairing setup available, and works very well on the 500 EXC. Having said that, I have generally not looked into fairings or done any research at all, so if anyone knows of another similar system, do let me know.

One size fits all, or DIY?
The main feature of the fairing kit is the navigation plate, which contains pre-cut holes for mounting a GPS; an ignition switch and a USB port or other accessories. The kit includes a bracket for mounting a powered cradle for the Garmin Montana on to the navigation plate. It works fine, but the GPS unit ends up sitting fairly high off the navigation plate, with both the mounting bracket, the cradle and the thickness of the Montana each adding height. This could be addressed with a recessed navigation plate or just cutting a hole in the plate and adding a recessed mounting bracket. Either way, instead of a one-size-fits-all navigation plate, I’d prefer a blank navigation plate for infinite configuration options. In fact, I’d perhaps wish to have two or three plates configured for different setups, depending of what and where I’m riding. The options for DIY modifications are endless.
Finally a fairing that moves
The truly unique feature of the AS Universal Mini Fairing kit are the plastic clamps. The handlebar mounted clamps enable rotating the entire navigation configuration forwards and backwards during riding to switch between seated and attack positions. Having static aluminium clamps always meant a compromise of one single position. Especially in rough and steep terrain, my helmet tends to bang on to the navigation equipment unless it’s pushed all the way in the front out of harm’s way. Furthermore, when cruising at high speed, adjusting the rotation of the fairing helps in reducing buffeting quite significantly, and despite its small footprint the shield also clearly reduces air resistance on the body. The latter especially was a revelation to me, as I never rode with a fairing or screen. Having said that, the torque on the clamp screws requires care, as the threads are plastic; leave them too loose and the navigation equipment will violently swing back and forth in bigger hits, and over-tightening will strip the threads. Having said that, I did manage to find an acceptable torque setting which kept the navigation equipment static during hits, but also allowed for rotating the entire kit with ease.

Low cost but tough
The build quality of the kit is generally good, with all metal plates and brackets in black aluminium. However, the finish on the clamps is a bit on the rough side, and all plastic parts could do with a bit of a bevel finish on their edges. Furthermore, I’d prefer stainless steel screws, nuts and washers instead of the supplied nickel plated fixings. An even better option, instead of loose fixings, would be riveted nuts on the plates to make fitting and reconfiguring faster and easier. However, the mentioned improvements would make production more complicated and drive the price up potentially significantly. So for the current price of around 150€ for the kit, I think it’s very good value.
During testing in Transylvania, I took an OTB in a muddy puddle, and the bike buried the left side of the shield into clay. I was sure the clamps had broken, but instead they took the hit in stride. I reckon the plastic base material absorbs impact energy by elasticity to a point, as opposed to the permanent plastic deformation of e.g. billet aluminium in high impact hits. Either way, I was very impressed with the durability of the fairing kit. All in all I’m very impressed with the AS Mini Fairing, and although IMHO it could do with a bit of refining, they’re great value for the price.

Would I use it on long expeditions?
As for the question of whether I’d use them on an expedition, I’d say it’s a yes, but with a custom navigation plate, and longer screws with backup nuts or threaded sleeves on the clamps to avoid stripping of the threads. Other thank that I think the Universal Mini Fairing kit is plenty durable for harsh expeditions.
I think AS has a bit of a gem of a product in their hands and hope that they will develop it further. Oh and by the way, Jon from KIT690, and I already did, and there’s more to come on my 500 EXC rally build shortly.


Great that you managed to test the AS fairing. I’ve been curious to test it but the looks are really terrible, I think I’ll wait a bit more. I’m one of those that don’t really care to much of the wind even on longer sessions of tarmac.
I’ve always wondered about your photo technique. The photos with you and your bike on are those taken by you or do you let someone with you take them? If solo, do you have any advise on how to success with them? Do you use any timer or so?
All the best!
I’m using a small handlebar mounted fairing as well, but I went with the Twalcom Rally Kit Extreme on my FE501. Or at least, I used the ABS fairing on a home made HDPE headlight, turn key, 12v, nav mount.
Salut.
Au montage de mon Mini fairing, j’ai rajouté des morceaux de chambre à air entre le guidon et les CLAMP. Du coup, plus de rotation sur le guidon
How does the Adventure-Spec Universal Mini Fairing enhance the riding experience on various types of motorcycles?