
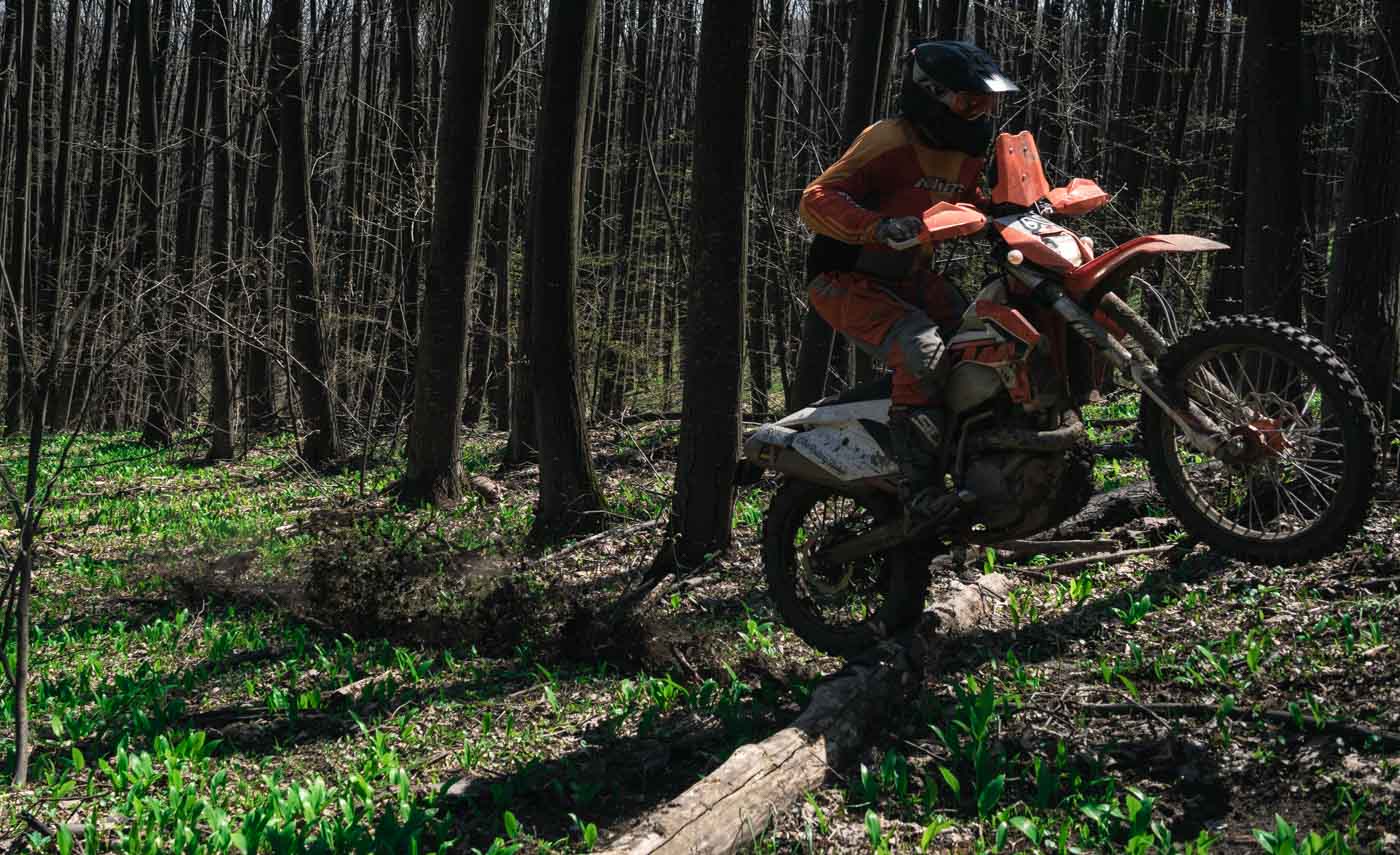
The Enduro 3 tyre, that I had gotten during the ADT-13, was pretty much spent. I’ll be off on another 2000km plus ride in less than a week, so it was about time to get the rubber sorted. This time there will be very little tarmac, but more soft stuff. I decided to fit a Michelin AC-10 front and a Dunlop MX-71 rear. According to reports this combo seems to work pretty well with local conditions.
My other issue was to try to change the tires with just the KTM tool set. The KTM tool set doesn’t include tools for tyre work, except for the 27/32mm axle wrench. I wanted to figure out what exactly is needed for changing tubes on the road, or rather, off it.
First of all I managed to loosen the front axle with the KTM tool. Then, as expected, the tool bent when I attempted to loosen the rear axle. It is tightened to a 90 Nm torque and the flimsy KTM tool is just too soft to deal with that. So the KTM axle tool will retire very early and I will figure out something else. A ratchet and two sockets are too heavy for my liking, especially if the ratchet isn’t used for anything else. An adjustable wrench, maybe?
I was surprised how easily the beads popped off the rims. I’ve been dreading this work, as the studded Trelleborgs on my Yamaha are a nightmare to work with. Not so with the Enduro 3 rear or the TKC-80 front. They came off nicely with just the spoons.
Putting the new rubber back on has also been a pig of a job for me. I think it’s safe to say that there is nothing I dislike more in motorcycle maintenance than anything work involving tyres. This of course derives from lack of experience and can easily be addressed by practice. A Motion Pro Bead Buddy II helps.
I’ve particularly had a lot of trouble getting the valve through the rim, once one side of the tyre is back on the rim. It just seems like an impossible job, although it looks so easy on the instructional videos. Frustrated, I decided to try it the other way around and put the tube on first, as instructed on this video. It worked a lot better for me but there is a higher risk of damaging the tube in the process. I did puncture a front tube with careless spoon work. In the end, practice makes perfect. My struggling got me nowhere near perfect, but I did get the tyres on the rims without further punctures and they held fine on the test ride. So aside from the KTM tool kit I used, and will carry from now on, the following tools:
- Three tyre spoons
- Motion Pro Bead Buddy II
- 27mm and 32mm wrench or socket
- Small bottle of Windex for lubrication
- Valve core tool
- MTB pump

Another issue with the coming ride is lighting. The summer months in the arctic are abundant with natural light. At the best of times for twenty four hours a day. This time around the sun will be above the horizon for less than twelve hours. It’s a wide known fact that the standard lighting on the KTM 690 is a joke. I needed to figure out a way to get more lighting for the trails as I don’t want to be forced to stop riding as soon as natural light fades.
A friend of mine had a Britannia Composites Lynx mask lying around and was kind enough to let me test it. He had tried it on his bike, but decided against it due to wind buffeting. We’re more or less the same height, but I decided to give it a go. I mean the dual HID lighting on it is magical. I also like the idea of having the Garmin Montana 600 above the instrument panel and thus in the natural field of vision, just below the road. Right now I have it mounted on the clutch side of the handle bar. It’s okay there too, but not perfect.
So I managed to get the mask on and went for a spin. At slow speed it worked great, but once above 80 kmh the turbulence started. The Lynx has an adjustable windscreen, but it didn’t help much. With the screen all the way up, the wind rocked my helmet around. With the screen all the way down the turbulence hit me square in the throat. I even took it completely off, but the turbulent air stream still beat on my throat.
The mechanical design seems a little flimsy. At least the one I had fitted on my bike seemed to shake and move a lot. It just didn’t seem rigid. I would be a little weary of riding with it on rough terrain, and I never fit anything like that on my bikes. It needs to be sturdy enough not to be worried about. Additionally there are huge open spaces on both sides of the mask. There is open space around both headlights. The screen is adjusted by sliding it up and down slitted grooves. When the screen is all the way up, the lower ends of the slits are completely facing the oncoming air current. These are all natural paths for water to travel directly into the wiring and all electrical components inside the mask.
Other than the aerodynamic and mechanical issues, I must say that I’m not particularly impressed by the design of the mask. I think it looks childish with its frowning looks. This of course is purely a matter of personal taste. I’m sure people who ride with skull masks, would love the Lynx mask. Especially if it came with some grimacing teeth to match the evil eyes. I would also imagine that the many sharp edges add to the air flow getting turbulent as opposed to flowing over it in a nice laminar fashion.
So the Lynx mask is definitely not for me. I’m a little disappointed as they get a lot of rave reviews and I was really looking forward to the lighting. I guess it all boils down to what and how you ride, in what type of climate and how what physical characteristics are like. The original KTM mask is now back on and I’m still in the dark.
I really should have taken a picture, but here’s what we’re talking about: advrider.com.


Leave A Comment